
How to Set Up a Convenient Charging Station for Your Devices
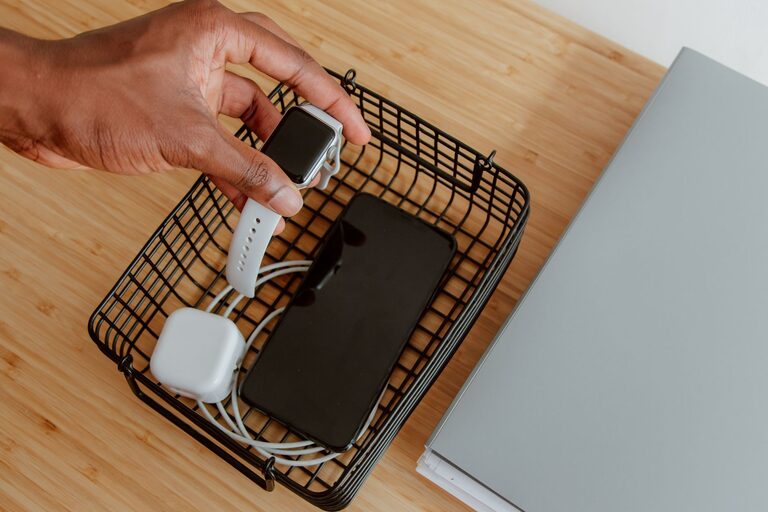
Setting up a dedicated charging station for your devices is a simple way to keep your space tidy and ensure all your gadgets are powered when you need them. Whether you have smartphones, tablets, laptops, or other rechargeable devices, a well-organized station can save time and reduce clutter.
In this post, we’ll walk you through the steps to create an efficient charging station tailored to your needs.
Why Create a Charging Station?
Before diving into the setup, it’s helpful to understand the benefits of a charging station:
– Organization: Reduces tangled cords and scattered chargers.
– Convenience: All devices charge in one place, easy to locate.
– Safety: Prevents overheating and electrical hazards by keeping chargers contained.
– Aesthetics: Keeps your home or office looking neat.
Step 1: Choose the Right Location
Pick a spot that is:
– Accessible: A place where you often use or store your devices.
– Near Power Outlets: Ensure there are enough plug points or install a surge protector.
– Flat and Stable: A desk, shelf, or table works well.
– Ventilated: To avoid overheating of chargers and devices.
Common locations include near desks, kitchen counters, bedside tables, or entryways.
Step 2: Gather Your Charging Equipment
Collect the items you’ll need for your station:
– Charging cables: Ensure you have the correct cables for each device (USB-C, Lightning, Micro USB, etc.).
– Power strip or surge protector: Provides multiple outlets and protects against power spikes.
– Charging hubs or docks: Multi-port USB hubs or wireless charging pads can streamline charging.
– Cable organizers: Clips, sleeves, or boxes to keep cords neat.
– Labels: Optional, to identify cables or device spots.
Step 3: Decide on the Style of Charging Station
There are different setups depending on how many devices and the type of chargers you use:
Dedicated Charging Dock
Use a multi-device dock designed to hold phones, tablets, and smartwatches. These docks often have built-in cables and keep devices upright.
Power Strip with Cable Management
Plug all chargers into a power strip and use cable organizers to minimize tangling. This option is flexible and affordable.
Drawer or Box Station
Hide chargers and cords inside a box or drawer with ventilation holes. This keeps them out of sight but accessible.
Wall-Mounted Station
Mount charging docks or strips on the wall to save desk space and keep things off the surface.
Step 4: Organize Cables and Devices
Here are some tips for a clutter-free station:
– Use cable clips or holders to separate each charger’s cord.
– Bundle excess cable length with ties or velcro straps.
– Designate specific spots for each device to avoid mix-ups.
– Consider labeling cables or charging spots with tags or colored markers.
Step 5: Maintain Your Charging Station
Keeping your station functional requires occasional upkeep:
– Check cables and chargers for damage regularly.
– Remove dust and dirt from the area.
– Update charging equipment as new devices come in.
– Adjust the layout if you add or remove devices.
Bonus Tips for a Better Charging Experience
– Use chargers that are compatible and safe for your devices.
– Avoid charging devices on soft surfaces like beds to reduce overheating risks.
– If using wireless chargers, ensure devices are properly aligned.
– Consider eco-friendly charging solutions like solar-powered chargers for sustainability.
Conclusion
Setting up a charging station is a practical project that improves organization and convenience in your daily routine. By selecting the right location, equipment, and organizing tools, you can create a charging station that suits your lifestyle and keeps all your devices powered efficiently.
Try it out and enjoy a neat, fully charged space!